Introduction
Ever dropped an influencer photo into a lifestyle feature and thought, “Wait… why does it suddenly look blurry?”
It all looked perfectly crisp on your smartphone, but blowing it up to the full width of your article. Now it’s full of noise, softening, and pixelation.
You know what’s a good thing? The camera itself is probably not to blame.
Instead, your photos likely lost quality during upload or through frequent resizing and compression.
In this guide, you’ll learn how images can lose their quality in the first place, why using an AI photo enhancer can bring out all that forgotten detail. Let’s get started!
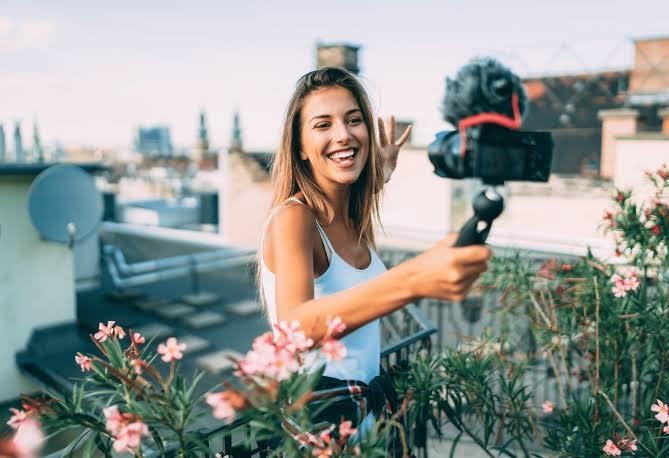
Where Does Image & Video Quality Actually Get Lost?
Ever look at an influencer’s picture and think to yourself, “pretty sure this looked a lot higher quality when he or she posted that”
Odds are, you’re correct!
On most occasions, the picture was fine to begin with, but the quality has degraded along the way. It happens so gradually that you barely notice… until you drop the image into a big lifestyle feature.
The Original File Is Usually Better Than You Think
This will be quite surprising to many. “Often the native files are even sharper than what you are viewing!” These days smartphones and many mirrorless cameras record a huge amount of detail.
Before you blame your “bad” camera, ask yourself, “Am I actually looking at the native files?”
You aren’t!
Social Platforms Compress Everything
When you upload your photo to Instagram, TikTok, Facebook… it gets compressed.
When this happens to your pictures and videos it reduces file size, which leads to them loading faster and sharing easier.
These compressions are useful for social media, but details are lost.
You don’t see this as much at-a-glance on a phone display, but when placed on a header, the differences reveal themselves.
Editors Often Work from Those Compressed Copies
Let’s be real…deadlines rarely wait.
Sure, maybe your original source files weren’t done yet, maybe the person you were working with just gave you a media kit, or maybe it was just faster to grab an image from someone’s Instagram account.
Happens to everyone…
But every single download, upload, and re-save lowers the quality.
Larger Editorial Layouts Reveal Those Flaws
Have you ever dropped a picture into the layout and suddenly it seems much softer looking?
Well, the same image that appeared perfectly crisp when viewed on your six-inch phone has to work much harder to appear as a full-width hero image.
The general rule applies here: the more you expand, the more the softness and noise become clear, and the lack of detail obvious.
What’s the great news? Most likely, you can still rescue those shots. We’ll go over a workflow that will reveal detail, sharpen the picture, and make your photos look sharp … and that too without having that overdone feel.
Getting the Shot Back to Feature-Ready Quality
Okay, your picture is a little soft – now what?
That doesn’t necessarily mean you need to trash it, though.
So, if your picture was “soft” due to compression, being scaled down, and uploaded to social sites, there’s a good chance you can recover much of it.
For the Photo Spread — Upscaling and Sharpening the Feature Image
This is when your “Hero Image” should come in handy.
Often the largest image in an article and often the subject where softness causes the biggest distraction. In this category, recovery offers the biggest benefits.
So, what should be your goal? – Don’t just scale it up to bring up detail from there or compression noise, enhance it and bring resolution to it.
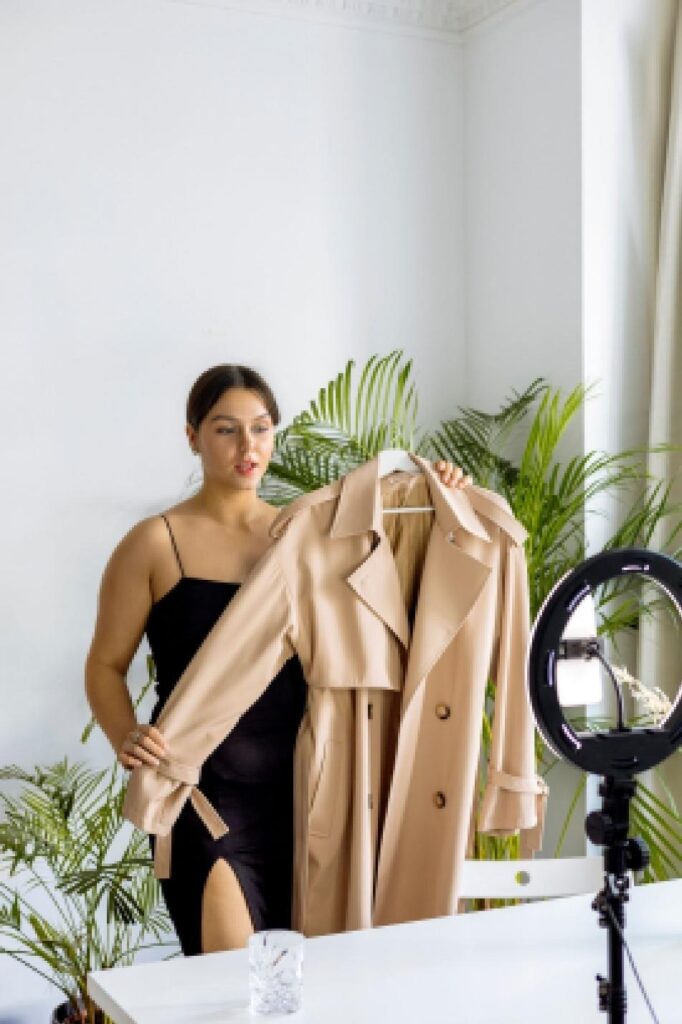
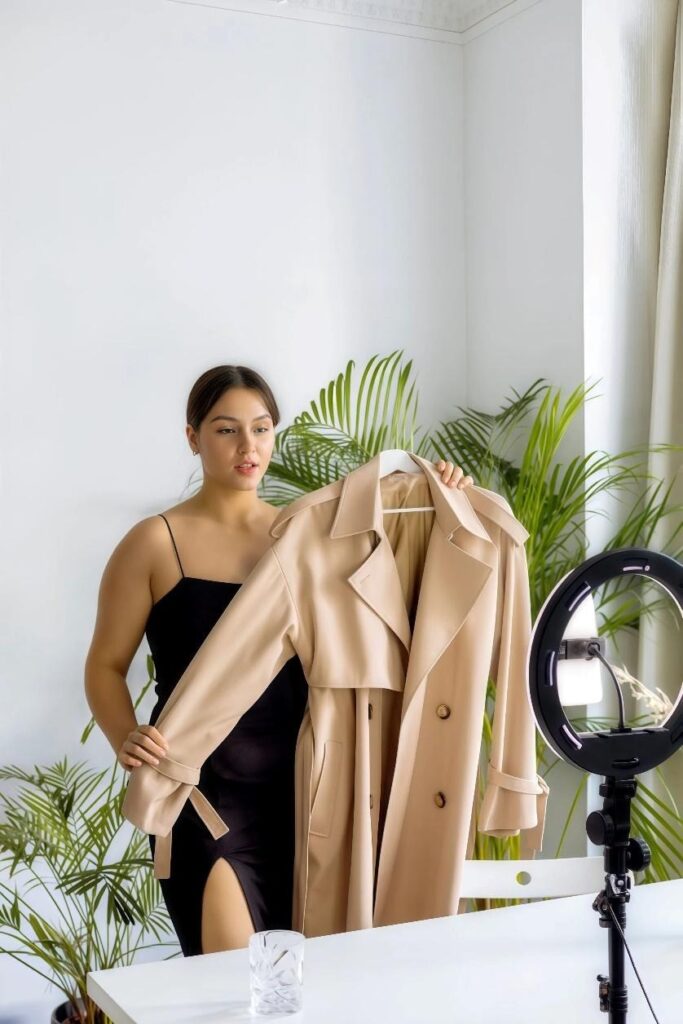
This is where Zawa’s HD Photo Converter steps in. The software can scale up your low-resolution soft images into full 1080, 4K, and even 8K resolutions, removing noise and correcting colors at the same time.
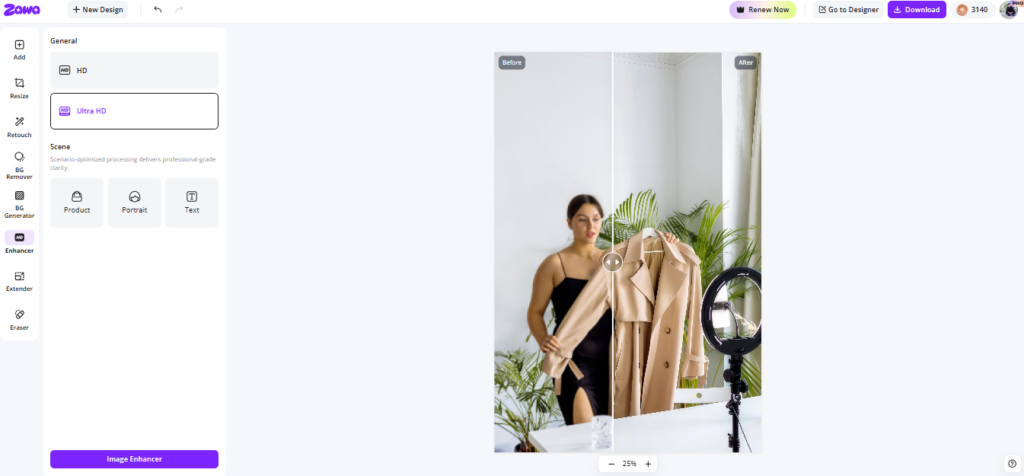
The good news here is that you can also upload your images in bulk for batch up-scaling to a total maximum number of 20 pictures, allowing you to create a complete lifestyle section rather than editing photo by photo.
Remember!
AI can restore details which were lost through compression, it can’t magically invent detail that was never there to begin with.
For Accompanying Reel or Behind-the-Scenes Video
More than just the images…is your Feature also utilizing some from behind-the-scenes, either a Reel or a video from that same session?
Well, that Reel has very likely undergone the same processes. Uploaded, downloaded, reposted, and uploaded yet again for a more lossy compression; this would explain why it’s slightly softer.
So, be sure to give your clips the exact same clean-up before posting on the internet too.
Zawa’s Video Enhancer can automatically upscale footage to 1080p or 4K, sharpen details, reduce compression noise, improve colors, brighten darker scenes, and clean up blurry clips—all in one click. It supports common formats like MP4, MOV, and M4V, so it’s easy to fit into most editorial workflows.
Small Editorial Decisions That Make a Big Difference
It’s not always big changes that can make a feature look the most professional… sometimes, it’s little decisions.
Some minor changes can also make a feature seem much more polished without the need for much extra work.
Only enhance what readers will notice
There’s no need to give every image the full treatment; focus on the areas where people are more likely to look first.
And that’s generally your hero image and the first few large images.
Keep Skin and Fabrics Looking Natural
Sharpening doesn’t mean things look sharper; they don’t!
It’s important not to give people an unnatural plastic appearance or clothing so that all the texture is smoothed out. Usually, a lighter approach looks more realistic.
Match Quality Across the Entire Feature
There’s nothing more jarring than one beautiful, sharp image… followed by a soft, washed-out one!
That looks unprofessional.
People often don’t consciously notice these things. Consistency throughout a feature may still make it look more polished even if things are not individually perfect.
Optimize for Web After Enhancement
Finally, before you upload, make sure your images have been exported at the size that your CMS will display them. If they’re larger, the CMS will compress them again during upload anyway losing all the benefit of working on them.
When Enhancement Helps—and When It Doesn’t
| Situation | Worth Enhancing? | Why |
| Downloaded Instagram photo | ✅ | Recover compression loss |
| Media kit image | ✅ | Improve clarity for larger layouts. |
| Indoor smartphone portrait | ✅ | Reduce noise and improve detail. |
| Behind-the-scenes Reel | ✅ | Better visual consistency |
| Original DSLR image | Sometimes | Usually only minor adjustments needed |
| Blurry or out-of-focus photo | ❌ | AI can’t recreate detail that wasn’t captured. |
A Better Editorial Workflow for Creator Content
Need to save hours working on retouching for a lifestyle piece while making it still look great. Focus on making the workflow clean right from the beginning of your workflow.
- Request original file formats wherever possible. There is no need to battle compression if it can be avoided by requesting the highest file quality right away.
- While that Instagram or TikTok photo looks okay viewed on a mobile, quality has already been lost to compression.
- Only improve what the reader will be focusing on. Highlight hero images and large photographs.
- Ensure consistency throughout images and videos.
- Make sure all exports utilize optimal formatting and compression for the designated publishing platform. Any work saved can be reduced yet again by the wrong final export!
Takeaway
So, what’s the point?
It’s not about artificially framing creators and their material, nor is it for faked or clearly Photoshopped posts. It’s about recouping the quality lost during the transition to the screen and social sharing.
With tools like Zawa, you can enhance photos and videos while keeping the original feel intact. Because the best edits don’t scream “edited” — they simply make the whole feature look better.