Disclaimer: This article is not intended to be a recommendation. The author is not responsible for any resulting actions of the company during your trading experience. The information provided in this article may not be accurate or up-to-date. Any trading or financial decision you make is your sole responsibility, and you must not rely on any information provided here. We do not provide any warranties regarding the information on this website and are not responsible for any losses or damages incurred as a result of trading or investing.
A phone screenshot of an old social post looks fine at arm’s length and falls apart the moment you zoom in, blocky skin tones, chewed edges around hair, faint halos around any text overlay. The real question is not whether an AI Photo Editor can sharpen that mess on a laptop screen. The question is whether the sharpened file still looks sharp after it gets uploaded back to a feed that recompresses everything on the way in.
So instead of one before and after screenshot, I ran a five-day log. Same kind of grainy file each day, one resolution decision written down, one repost and recompress cycle checked, then a plain pass or fail note before moving to the next tier. Five days is short enough to run alongside a normal week and long enough to catch a pattern a single test would miss.
Setting The Five Day Enhancer Test Goal
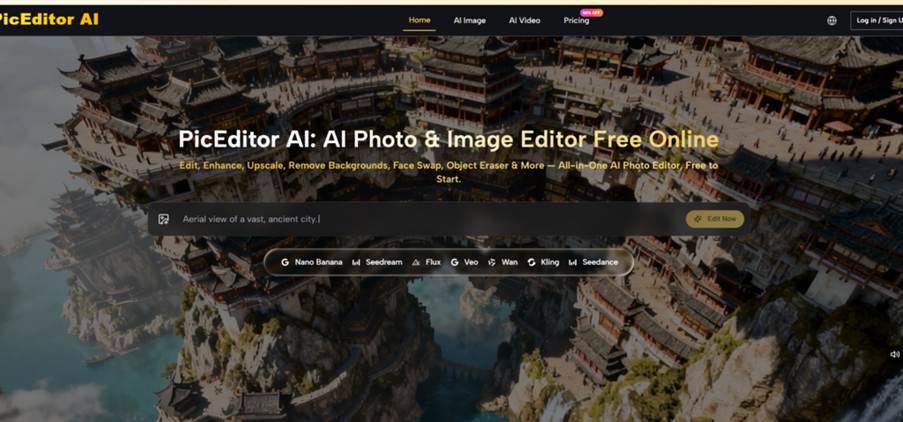
The goal was narrow on purpose: find out whether pushing a grainy upload through 1K, then 2K, then 4K actually produces a file that still reads clean after a platform recompresses it, or whether the extra resolution just flatters the export before it ever leaves a drive. A pass meant the reposted version still looked noticeably cleaner than the original once the feed’s own compression had run. A fail meant the improvement mostly disappeared, or worse, a new artifact showed up that was not in the source file at all. PicEditor AI’s enhancer and upscaler tool became the test subject because it exposes that resolution choice directly, instead of applying one fixed sharpen pass and hiding the setting from the person clicking generate.
Preparing Five Grainy Source Files For Testing
Five days needs five source files that actually represent the grainy social problem, not five random photos. The batch was a mix: two old profile-style shots saved off a feed years back, one screenshot of a screenshot, one heavily compressed product photo pulled from a marketplace listing, and one noisy low-light shot from an older phone camera. Every file stayed a plain JPG under the platform’s 30MB upload ceiling, since the enhancer accepts JPG or PNG up to that size and a rejected upload would have wasted a whole day of the log. Each file’s starting aspect ratio also got written down, since the tool lets you keep Auto framing or lock a specific ratio before generating, and switching ratios mid-week would have made the resolution comparison meaningless.
Running The Daily Upload And Generate Workflow
The actual workflow stayed identical every day, which is what made the log comparable at all. Upload the blurry file, choose a resolution tier or lean on the tool’s built-in enhancement prompt instead of typing a custom one, then click Generate Image and wait for the HD result to land in My Images. PicEditor AI shows a Required Credits number, typically around 15 for a single enhance pass, before the generation actually commits, so there was no guessing what a day’s test would cost against the week’s balance.
Day One And Two Baseline At 1K Resolution
Day one and day two both ran at the lowest resolution tier the enhancer offers, 1K, on the two old profile-style shots. The immediate result on screen looked genuinely better, fewer blocky patches, cleaner skin tone gradients, less halo around the text overlay in the day two file. The problem showed up only after reposting. Once the feed recompressed the export, most of that gain shrank back toward the original, and the day two file even picked up a faint new ring artifact around the overlay text that had not been visible before upload. Both days logged as a fail against the pass bar set at the start.
Day Three And Four Pushing To 2K And 4K
Day three moved the screenshot of a screenshot up to 2K, and day four ran the compressed marketplace product photo at 4K, the top tier the AI Photo Edit resolution picker offers. Both results held up noticeably better through the repost and recompress cycle than either 1K file had. The 4K product photo in particular kept sharp edge lines around the packaging that the day one test had lost entirely, matching the pattern the goal section predicted: more resolution headroom gives a platform’s own compression more detail to throw away before the file looks soft again.
Day Five Re Uploading After Feed Compression
Day five ran the noisy low-light phone shot at 4K with Number of Images set to two, comparing a plain enhance pass against the built-in prompt variant side by side before picking a winner to repost. Both variants survived the recompression cycle in a way the day one file never did, though the built-in prompt version handled shadow grain slightly better than the plain enhance pass. Visibility stayed set to public for the whole test, since none of the source files were sensitive and public results were easier to pull back up later for a side-by-side check.
Logging Five Days Of Pass And Fail Results
Here is the daily log, resolution tier next to the repost outcome, in the order the test actually ran.
| Day | Source File | Resolution Chosen | Repost Compression Result |
| Day 1 | Old profile shot A | 1K | Fail, most gain lost |
| Day 2 | Old profile shot B | 1K | Fail, new ring artifact |
| Day 3 | Screenshot of screenshot | 2K | Pass, edges held up |
| Day 4 | Compressed product photo | 4K | Pass, packaging lines held |
| Day 5 | Noisy low-light shot | 4K | Pass, grain controlled |
Three of five days passed, and every pass came from the 2K or 4K tier. Neither 1K result survived a full repost and recompress cycle, which is the actual finding worth carrying forward: for grainy social files specifically, the lowest resolution tier does not leave enough headroom for a second, uninvited round of compression.
Errors That Quietly Skew The Comparison
- Judging the enhanced file on your own screen instead of after a real repost, which hides how much a platform’s compression actually eats
- Changing the source file’s aspect ratio between days, which makes a resolution comparison meaningless once the framing shifts too
- Skipping the Required Credits check and running short mid-week, leaving a blank log entry for a missed day
- Reusing one Number of Images setting without noting which specific variant actually got reposted and checked
Checking Results Against The Original Goal
The pass bar set at the start held up through the whole week. Only a tier that gave the file enough resolution headroom to lose in a second compression pass counted as a real win, not just a cleaner file sitting on a personal screen before upload.
Comparing File Size And Detail After Reposting
Checking results meant re-downloading each reposted file from the platform itself, not trusting the export generated locally minutes earlier. The 4K exports came back from the repost noticeably heavier in file size than the 1K exports had been to start with, and that extra headroom is exactly what let the platform’s own compression step down without erasing the fix underneath it. PicEditor AI’s per-generation credit cost stayed flat across resolution tiers in this log, so reaching for 4K never cost more to attempt, it just had to be picked in the first place instead of defaulting low out of habit.
What The Five-Day Log Actually Changed
Five days changed one habit: default to 2K or 4K for anything grainy that is heading back onto a feed, and treat 1K as a preview tier rather than a final export. The log also lines up with what PicEditor AI is built for beyond this one test, portraits, product photos, old scans, and other noisy or compressed social files, since the resolution picker and built-in prompt exist specifically for that repair job rather than heavy scene editing. Pricing stayed out of the pass or fail decision here, since a free start covers a short test like this one, though anyone running the same log daily should note paid tiers add rollover credits, no watermark, and a commercial license once results move past a personal check. Log a real five days before trusting a single screenshot comparison again.