Disclaimer: This article is not intended to be a recommendation. The author is not responsible for any resulting actions of the company during your trading experience. The information provided in this article may not be accurate or up-to-date. Any trading or financial decision you make is your sole responsibility, and you must not rely on any information provided here. We do not provide any warranties regarding the information on this website and are not responsible for any losses or damages incurred as a result of trading or investing.
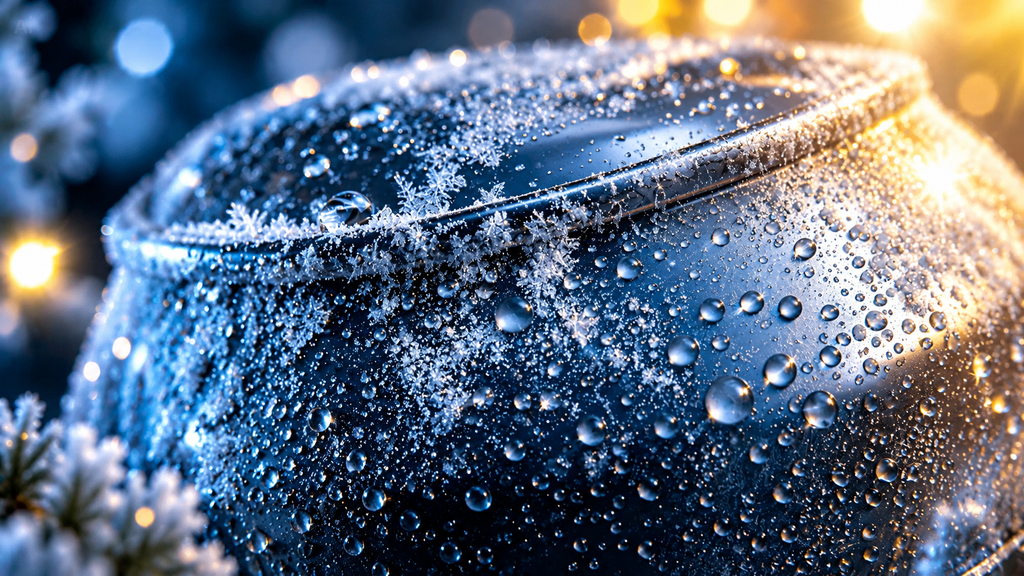
Photo editing has moved far beyond simple brightness and contrast adjustments. Today, creators, marketers, and everyday users want images that tell a story, and frozen visuals are among the most popular styles. Frost, icicles, snow crystals, and glassy cold textures can turn an ordinary picture into something dramatic and memorable. Advances in editing software and online tools have made these effects available to people with no design background.
This article explains how ice effects work, why they appeal to so many people, and how to get natural looking results.
Understanding Ice Effects in Modern Photo Editing
Ice effects are digital enhancements that make a subject look frozen, frosted, or surrounded by cold elements. They range from a light dusting of frost on a window to a complete icy transformation of a portrait or landscape. Many people now use online tools to add ice to photo projects quickly, without learning complex layer based editing in traditional software. These tools analyze the picture, detect edges and surfaces, and apply frozen textures that follow the shapes already in the image. The result can look surprisingly realistic, even when the original photo was taken in warm weather.
The technology behind these tools usually relies on image recognition and texture blending. The software identifies the main subject, separates it from the background, and then overlays frost patterns, translucent crystals, or reflective surfaces. Good tools also adjust color temperature, shifting the image toward cooler blues and whites so the final picture feels cohesive.
Why People Love Frozen Visual Styles
Cold imagery carries strong emotional associations. Winter scenes can suggest calm, elegance, mystery, or festive warmth, depending on how they are presented. A frosted portrait may feel serene, while a frozen cityscape can feel dramatic and cinematic.
There are practical reasons too. Seasonal content performs well on social media, and winter themed visuals often attract attention during the colder months. Photographers who missed a snowy day can still deliver wintery images to clients. Small businesses can create holiday promotions without organizing a special photo shoot. Because the effect is applied after the photo is taken, it also gives creators more flexibility and saves time.
Common Techniques Behind Ice Effects
Several editing methods are used to create frozen looks, and knowing them helps you judge what a tool is doing for you.
Frost overlays. A transparent frost texture is placed over the image and blended with the original. Blend modes such as screen or overlay let the texture interact with the lighting in the photo.
Edge frosting. Ice tends to form along edges, corners, and outer surfaces. Editors apply stronger frost near the borders of a subject and keep the center lighter, which mimics how frost naturally forms.
Color grading. Cooling the color palette is essential. Adding blue and cyan tones to shadows and reducing warm highlights creates the feeling of low temperatures.
Crystal and icicle details. Hanging icicles, snowflakes, or small shards can be added to branches, rooftops, or clothing. These details work best when they match the direction of the light in the scene.
Glossy reflections. Ice is shiny, so adding subtle highlights and specular reflections makes surfaces look wet or frozen rather than simply white.
Tips for Getting Realistic Results
The difference between a convincing ice effect and an obviously fake one usually comes down to restraint and consistency. These practices can help.
First, start with a good quality photo. Sharp images with clear subjects and balanced lighting give the software more reliable information to work with. A blurry or heavily compressed picture may produce messy textures.
Second, match the lighting. If the sun in your photo comes from the left, the highlights on the ice should also appear on the left. Mismatched lighting is one of the most common reasons an edit looks artificial.
Third, control the intensity. Heavy frost across the entire frame can hide important details, especially faces. Apply the effect gradually and keep the main subject recognizable.
Fourth, consider the context. A summer beach scene covered in thick ice may look strange unless the goal is clearly artistic or surreal. Photos with natural cold elements, such as mountains, lakes, trees, and city streets, tend to accept frozen effects more naturally.
Finally, review the final image at full size and on different screens. Small flaws such as jagged edges or repeated texture patterns are easier to spot when you zoom in, and they are simple to fix with a quick touch up.
Creative Uses Across Industries
Ice effects are no longer limited to hobby projects. Photographers use them to produce seasonal portfolios and holiday sessions. Social media managers create eye catching posts and banners that fit winter campaigns. Graphic designers add frozen elements to posters, album art, and product mockups, particularly for drinks, skincare, and other items associated with freshness and cooling.
Educators and bloggers also benefit. A science article about glaciers or climate can be paired with illustrative images, and a travel blog can show how a destination might look in midwinter. Game designers and digital artists use frozen textures when building fantasy environments, characters, and concept art. In each case, the ability to transform an existing image saves time and widens creative options.
There are a few responsible practices to keep in mind as well. If an edited image is used in news, documentation, or any context where accuracy matters, it should be labeled as edited. For marketing and art, creative effects are generally fine, but being honest about manipulated visuals builds trust with an audience.
Conclusion
Frozen visual effects show how accessible photo editing has become. With modern tools, anyone can transform an ordinary picture into a crisp, wintery image in a few minutes, and the learning curve is far gentler than it used to be. Whether you want to add ice to photo files for a holiday campaign, a social media post, or a personal creative experiment, the same principles apply: begin with a quality image, match the lighting, keep the effect balanced, and review the details before sharing. As image processing technology continues to improve, these effects will only become more realistic and easier to control, giving creators more ways to express their ideas visually.